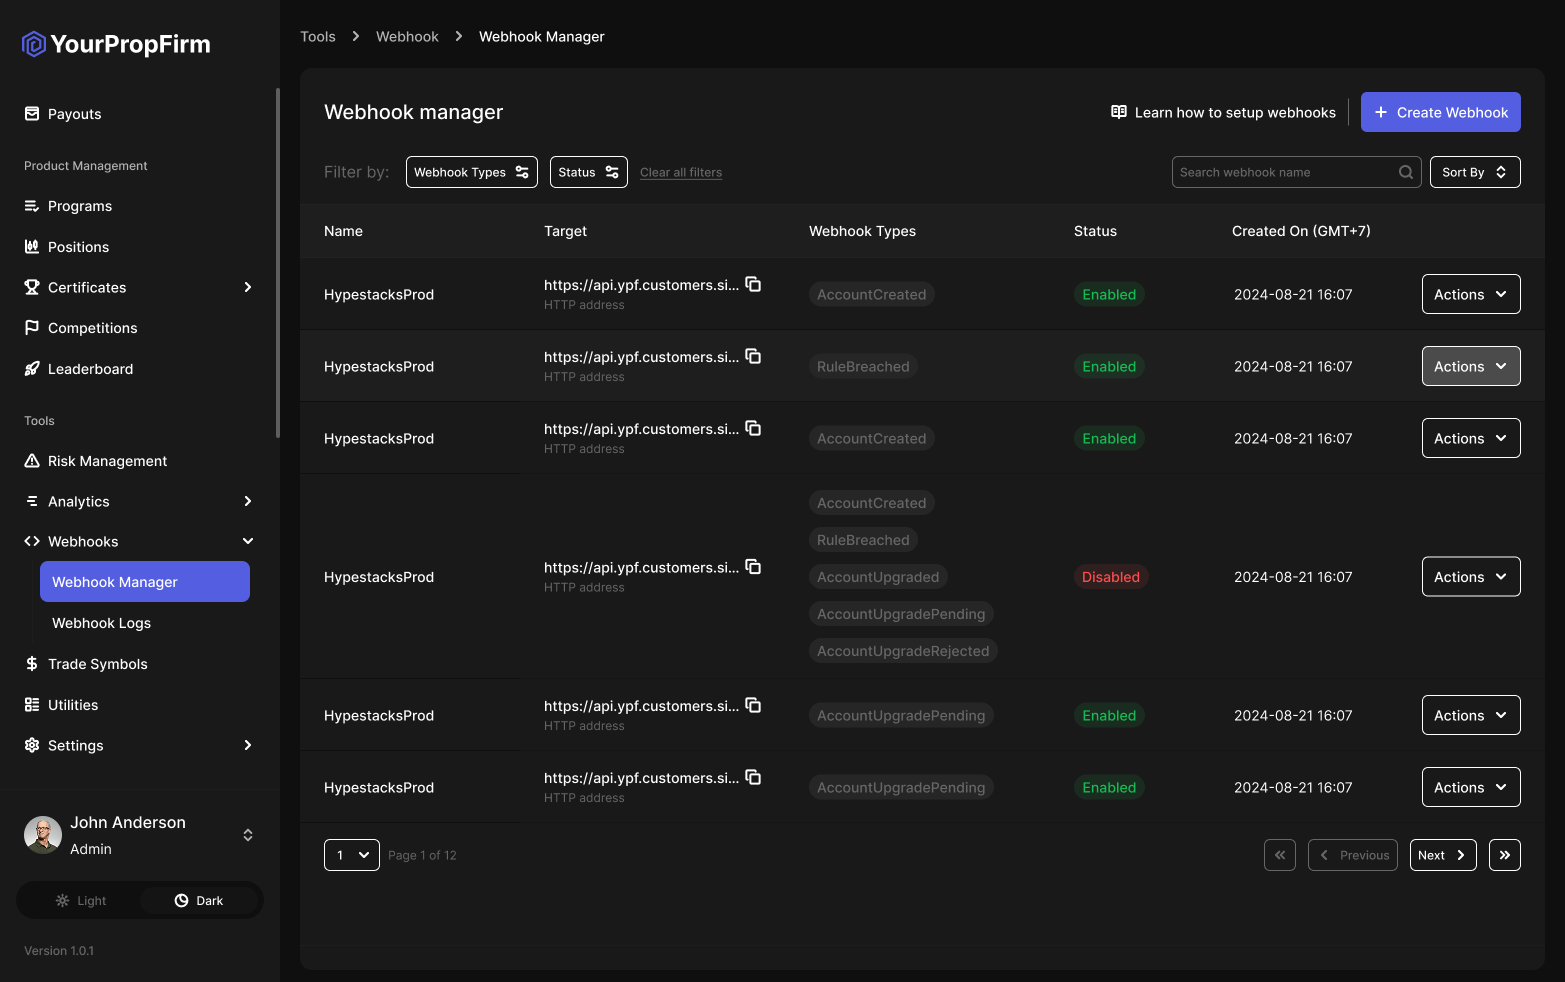
# Manage Webhook
Explore webhook settings for customized notifications on your accounts.
On this page, you can learn how to create, configure, and manage a webhook based on your requirements in the webhook manager section.
{% hint style="warning" %}
**Mind the following**
* We do not send any information to endpoints using HTTP, only HTTPS.
* Not receiving an answer from a webhook endpoint for more than 5 seconds is considered to be a timeout.
{% endhint %}
## Create Webhook
A maximum of 5 webhooks can be registered.
To create a webhook:
1. In the Dashboard, open **Webhooks**, go to the **Webhooks → Webhook Manager** section, and click **Create Webhook**.
2. In the **Name** field, enter a preferable webhook name with maximum 100 characters.
3. Select a **Webhook receiver** type, which can be any HTTP address. This field determines where you will receive verification results.
4. In the **Target** field, specify the target endpoint where webhooks are expected to be received. Based on the receiver type you selected in the previous step, you can provide an HTTP address.
5. From the **Webhook types** drop-down list, select the webhook type. At this step, you define which type of events or triggers (such as applicant status change) you want to receive.
6. In the **Secret key** field, our system automatically generates a secret key value for digest calculation using the HMAC algorithm. You can set your key value or use a generated one.
7. Select a **Signature algorithm** to use for verifying the webhook sender. SHA256 is the only supported algorithm currently. This ensures that the webhook is sent by YPF SaaS Platform and that the data has not been altered.
8. \[Optionally] In **HTTP headers**, click **Add Key Value Pair** to create a custom header. This option is only available if **HTTP address** was selected as the webhook receiver type in Step 3.
9. Click **Test Webhook** to see how it performs.
10. Save your changes.
## Verify Webhook Sender
To make sure the webhook is sent to you by YPF SaaS Platform, we sign it using the HMAC (Hash-based Message Authentication Code) algorithm.
{% hint style="success" %}
**Important**
To use this feature, set a **Secret Key** value when creating a webhook.
{% endhint %}
To verify the webhook sender:
1. Get a webhook `X-Signature` header value in `Base64` and the payload as it is, without any alteration or conversion to JSON.
2. Receive the HTTP webhook body in bytes.
3. Calculate the digest with the raw webhook payload in bytes and the HMAC algorithm (SHA256).
4. Compare the `X-Signature` header value with the calculated digest.
{% hint style="warning" %}
**Mind the following**
* Do not rely on our IP addresses for whitelisting them as the webhook sender as they may change.
* Make sure to test your webhooks before sending the URL to us. At a minimum, it should not return a 500 HTTP response or require any sort of authorization.
{% endhint %}
## Manage Webhook Settings
You can manage your webhooks settings in any of the following ways:
* Edit webhook parameters. Modify webhook parameters at any time if you need to change any of the existing settings.
* Remove webhooks. Remove a webhook configuration whenever you no longer need it.
* Disable webhooks. Disable the existing webhook temporarily. You can re-enable it at any time.